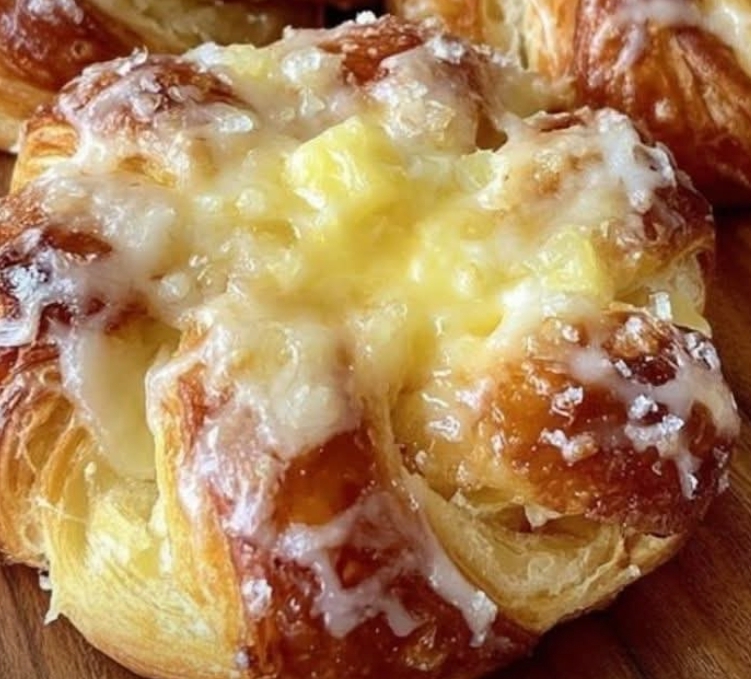
🥐 French Custard & Fruit Danish Pastries
This recipe uses a classic laminated yeast dough to get those flaky, buttery layers, paired with a rich vanilla pastry cream.
- Prep time: 45 minutes (plus 3+ hours chilling time)
- Bake time: 15–20 minutes
- Yield: 8–10 Danishes
🛒 Ingredients
1. The Danish Dough (Detrempe & Butter Block)
- 300g All-purpose flour or Bread flour
- 150ml Whole milk (warm, about 35°C)
- 7g Instant yeast (1 packet)
- 40g Granulated sugar
- 5g Salt
- 40g Unsalted butter (softened, for the dough)
- 150g Unsalted butter (cold, high-quality, for the butter block)
2. The Vanilla Pastry Cream (Crème Pâtissière)
- 250ml Whole milk
- 1 tsp Vanilla extract or vanilla bean paste
- 2 Egg yolks
- 50g Granulated sugar
- 20g Cornstarch
- 15g Unsalted butter
3. Toppings & Glaze
- Fruit: Canned pineapple tidbits (drained) or chopped peaches/apricots.
- Egg wash: 1 egg beaten with 1 tbsp of milk.
- Sugar Glaze: 60g powdered sugar mixed with 1–2 tbsp of milk or water.
- Coarse sugar (optional, for crunch).
👩🍳 Step-by-Step Instructions
Step 1: Make the Pastry Cream
- In a saucepan, heat the milk and vanilla until it just starts to simmer. Remove from heat.
- In a medium bowl, whisk the egg yolks, sugar, and cornstarch together until pale.
- Slowly pour the warm milk into the egg mixture while whisking constantly (this tempers the eggs so they don’t scramble).
- Pour the mixture back into the saucepan. Cook over medium heat, whisking vigorously, until it thickens into a thick custard.
- Remove from heat, stir in the 15g of butter until smooth. Cover with plastic wrap directly touching the surface of the cream to prevent a skin from forming. Chill completely.
Step 2: Prepare the Dough & Lamination
- Mix the dough: Whisk warm milk, yeast, and sugar. Let it sit for 5 minutes. In a large bowl, mix flour and salt. Add the yeast mixture and the 40g of softened butter. Knead until a smooth dough forms. Shape into a flat rectangle, wrap in plastic, and freeze for 20 minutes, then move to the fridge for 1 hour.
- The Butter Block: Place the cold 150g butter between two sheets of parchment paper. Pound and roll it with a rolling pin into a neat 15 \times 15\text{ cm} square. Chill until firm but still pliable.
- The Laminating (Turns): Roll your chilled dough into a 30 \times 15\text{ cm} rectangle. Place the butter block in the center, and fold the two flaps of dough over it so they meet in the middle, sealing the butter inside.
- Roll the dough out into a long rectangle again. Fold it like a letter (top third down, bottom third up). Wrap and chill in the fridge for 30 minutes. Repeat this rolling and folding process 2 more times to create the flaky layers.
Step 3: Shape the Danishes
- Roll the finished dough out on a lightly floured surface to a thickness of about 0.5\text{ cm} (roughly a large square).
- Cut the dough into smaller squares (about 10 \times 10\text{ cm}).
- To get the star/pinwheel twist shape in your photo: Cut diagonal slits from the four corners of each square toward the center, leaving the very center intact. Fold every alternate corner tip into the center and press down firmly to secure.
- Place the shaped pastries on a baking sheet lined with parchment paper. Cover loosely and let them rise for 45–60 minutes until puffy.
Step 4: Fill and Bake
- Preheat your oven to 200°C (390°F).
- Gently press down the centers of the puffed pastries. Spoon a generous dollop of the chilled pastry cream into the center.
- Top the pastry cream with your drained fruit pieces (pineapple tidbits work wonderfully here!).
- Brush the exposed pastry dough with the egg wash and sprinkle with coarse sugar if desired.
- Bake for 15 to 20 minutes, or until the pastries are deeply golden brown and crisp.
Step 5: The Finishing Touch
- Let the Danishes cool slightly on a wire rack.
- Whisk your powdered sugar and milk together to create a thick, drizzly glaze.
- Drizzle the glaze generously over the warm pastries.
Tip: Danishes are best enjoyed the day they are made while the pastry is at its absolute crispiest!