
Ingredients
- ¼ cup butter
- 10 oz mini marshmallows (about 5 cups)
- ½ cup peanut butter
- 6 cups rice cereal (I used Rice Krispies)
- 1 cup semisweet chocolate chips
- ½ cup butterscotch chips
- 2 tsp coconut oil, divided
Instructions
- Lightly grease a 9×13-inch baking dish and set aside.
- In a large saucepan over low heat, melt the butter.
- When melted, add the mini marshmallows and peanut butter together, stirring until smooth and fully combined.
- Remove from heat and stir in the Rice Krispies until everything is evenly coated.
- Press the mixture into the greased baking dish. (Tip: Lightly spray your hands or a spatula with nonstick spray so it doesn’t stick!)
- In one microwave-safe bowl, melt the chocolate chips with 1 teaspoon coconut oil in short bursts (20–30 seconds), stirring between each, until smooth.Pour the melted chocolate over the bars and smooth it into an even layer.
- In a second microwave-safe bowl, melt the butterscotch chips with the remaining 1 teaspoon coconut oil the same way.
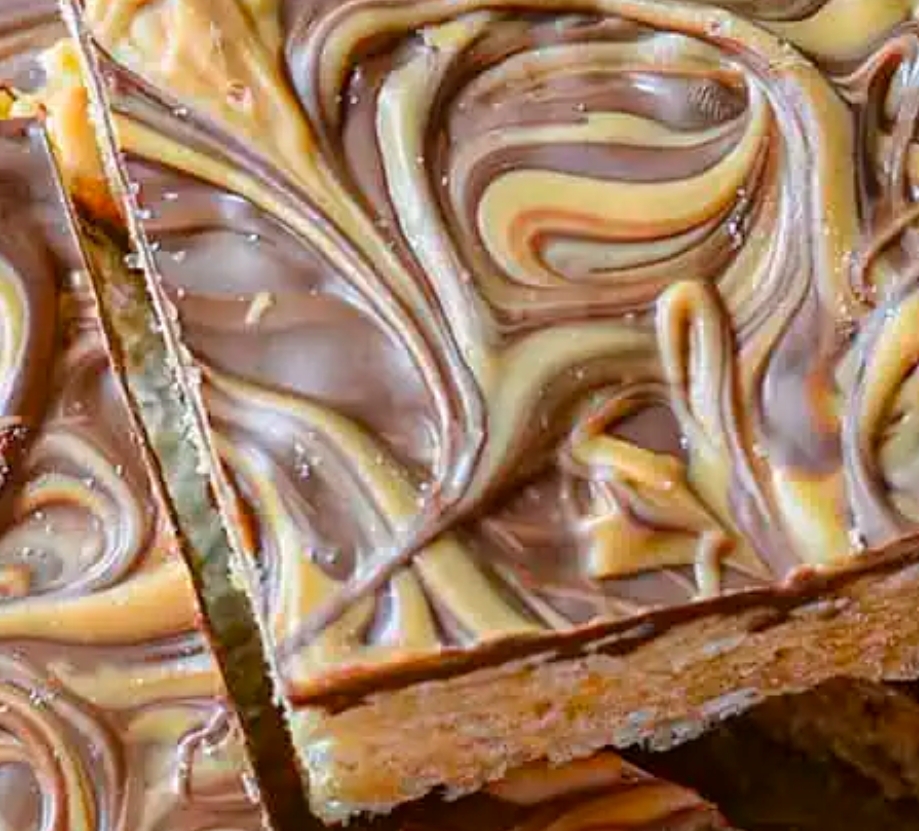
- Drizzle the melted butterscotch over the chocolate in thin zigzags or swirls. Use a toothpick or chopstick to swirl the two together into a marbled pattern. Don’t overdo it—just enough to swirl, not mix!
- Let the topping cool in the fridge for an hour or so until set completely before slicing into squares.
- Enjoy!
Notes
Use fresh marshmallows for that perfectly soft, chewy texture.Coconut oil in the melted chips helps the topping set into a firm-but-biteable layer.Swirl the butterscotch on top of the chocolate—not mixed in—so you get that pretty marbled finish.Try crunchy peanut butter for a little more texture, or sprinkle crushed Butterfinger or Heath bar bits over the swirl before it sets for bonus flair.Switch things up a bit… Try a Rocky road topping (marshmallows + chopped peanuts) it makes it extra decadent.If you like the sweet and salty vibe, sprinkle a LIGHT dash of flaky sea salt over the top before chilling.
Storage:
Store in an airtight container at room temperature for up to 5 days. If your kitchen runs warm, pop them in the fridge and let them sit out for a few minutes before serving so the topping softens just a bit.
Making them ahead and freezing them is always a nice option. After chilling and cutting, I like to store these in a freezer-safe container separated with parchment paper if I am going to stack them. It makes it super easy (almost TOO easy) to sneak one here and there